


Putting it back together!
Lite the torch and get started putting it back together. If you have done a lot of careful measurements, cutting and trimming, it make this part a lot easier.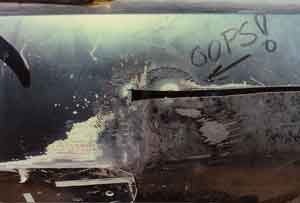

(Left side upper front fender)
Remember the part about measuring a lot. I felt very fortunate the this was the biggest of my mistakes.
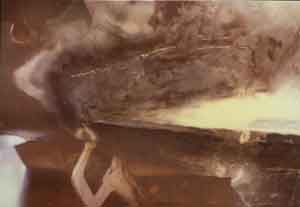
Tack welds 3 to 4 inches apart began the long tasks of stitching the trailer together. Each weld was hammer welded to shrink the area to keep it level and to smooth the weld. I gas welded the trailer with an oxy-acetylene welder.
This is the upper area of the right fender. (fender-grey area, quarter panel - black)
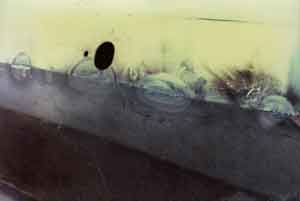
The hole in the photo below is from the antenna, a patch was hammer welded in and finished. Both fenders were welded in his manner. Total lenght of hammer welding was 30 feet.
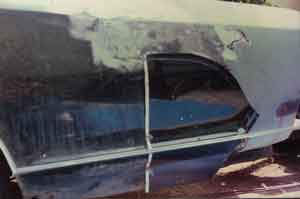
The rear portion of the fender that was trimmed off to mount the fender to the quarter panel was used to fill in the hole left by the wheel well opening. The lower belt line was matched with the lines on the lower quarter panel.
(right side looking forward)
(left fender side view)
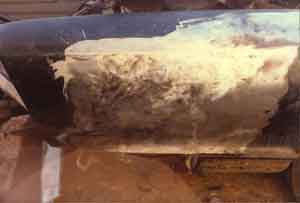
After the welding was completed I ground the area flat, used a pick hammer to raise the low spots.
The picture below shows a close-up of the piece I made to turn the lower body line back into the front fender area. This is just behind where the bumper wraps around the the fender.
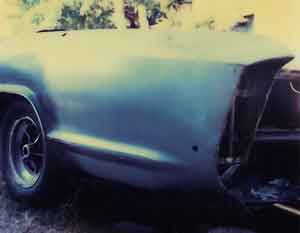
Finally, it is beginning to look like a Riviera again.